Since I have made
Family HQ there is not anywhere, but the fridge to display the 100 pieces of art that come home from school each week. We have a small wall in the kitchen that wasn't getting much love- the perfect place for a larger scale display! I saw a clipboard art display idea at
Lansdowne Life.
 |
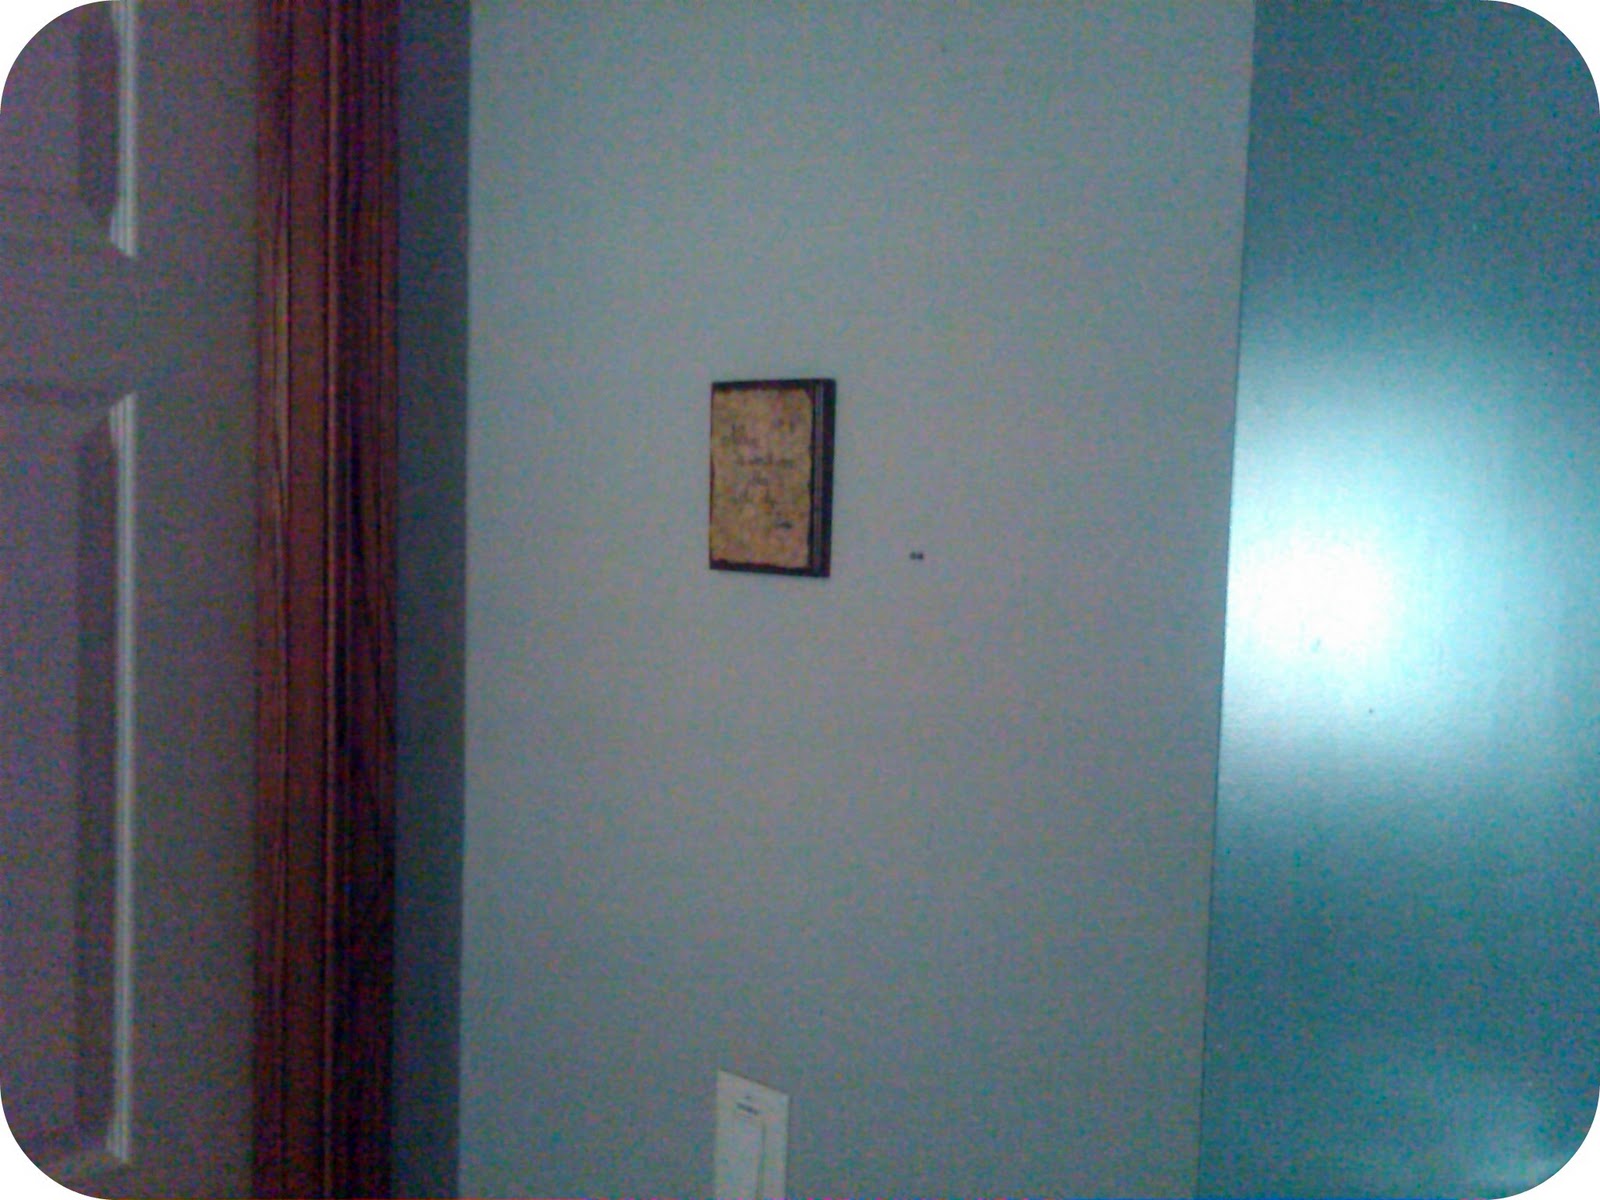
| Poor wall |
I bought 6 acrylic frames at Dollar General for $2.50 each. I could of waited to thrift regular clipboards for much less, but I was eager to get it done. As you will see acrylic frames caused some issues- thrift or buy the particle board ones to make it easier on yourself.
 |
| Clear, smoky and blue acrylic frames |
Up until this point, I haven't done any decorating in the kitchen. I needed to settle on a basic color scheme. It has proved difficult because the entry, living room, hall, and the kitchen are all open to one another. For the living room area, I had relied on a craigslist dot "wall thingy." The living room is blue hues and accented with more colors from the "wall thingy." Yes, I'm going to keep calling it that. So, I pulled it out and went to matching up scrapbook paper. I've settled on green hues for the kitchen.
I did some measuring and cut a template. The 12X12 scrapbook paper wasn't big enough so it left a gap at the top. Since I bought all the clipboards in different colors, it didn't look cohesive. I took the scraps of paper and made little coordinating toppers for each clipboard. Much better!
I applied mod podge and it made a big wrinkly mess! As I tried to smooth it, I tore the paper and had to redo 3. I had emailed Erin at
Lansdowne Life asking to link and told her my issues. She suggested going easy with the mod podge and drying throughly between applications. It worked! There were still some wrinkles, but I left them alone (as she also suggested) and they were not so bad after it dried. I blame the acrylic clipboards!
To finish the edges, I flipped them over and used a razor to cut off the excess. It gave them a nice finished look!
 |
| Holds extra large art well too! |


I think they look great! I like how you flopped the papers for each horizontal pair. And I'm not sure I would have figured out using two of them for larger art.
ReplyDeleteI too would blame the acrylic for any of the issues you had along the way! Thanks for the link!
This is really cute! Great idea!
ReplyDeleteThose look great, what a great way to display some art and be able to switch out whenever new art comes home!
ReplyDeleteVisiting from Eisy Morgan. This is a cool idea. It's always hard to know what to do with kids artwork and you've found a great solution!
ReplyDeleteSuper cute! What an excellent idea. I never know what to do with my son's stuff and he is always sooo proud! :)
ReplyDeleteOh and found you are Eisy Morgan link party!
I love this! So creative and I am so into this scrapbook paper right now:) THanks for linking it up!
ReplyDeleteWhat a great idea. They all are so cute. Thanks for sharing at the Winter Blues Wednesday link party.
ReplyDeleteLOVE this idea!!!
ReplyDeletecraft-interrupted.blogspot.com
Love the colors! Great job!
ReplyDeleteThanks for linking up to Making It With Allie last week! I can't wait to see what you have for this week!
AllieMakes.Blogspot.com
Such a super cute idea! And so functional! You did a wonderful job!
ReplyDelete